March 1, 2023
SSL (Secure Sockets Layer) is the standard security technology for establishing an encrypted link between a web server and a browser. This link ensures that all data passed between the web server and browsers remain private and integral.
In this blog post we'll use Azure DevOps and Azure to automate the process of obtaining an SSL certificate, uploading it to an Azure Key Vault, and establishing a process for renewing your SSL certificate.
SSL Certificates are offered from a wide range of providers with different price points and have three tiers of Authentication: Domain Validation (DV), Organization Validation(OV), or Extended Validation (EV). Depending on your organization's needs, purchasing certificates can be costly. Let's Encrypt is a free, automated, and open certificate authority (CA) run for public benefit. It is a service provided by the Internet Security Research Group (ISRG).
The SSL Certificates you obtain from Let's Encrypt are DV certificates that expire after three months. To learn more about Let's Encrypt visit: https://letsencrypt.org/docs/faq/
One of the key components to making this all possible is the Posh-ACME Powershell module. You can learn more about the module on github: https://github.com/rmbolger/Posh-ACME
Make sure your DNS provider is supported, I'll be using GoDaddy in this example: https://github.com/rmbolger/Posh-ACME/wiki/List-of-Supported-DNS-Providers
Install the Posh-ACME module using:
Install-Module -Name Posh-ACME -Scope CurrentUser
-Force
NOTE: Rate limitations exist, and so if you're testingfunctionality it's advised that you use the Let's Encrypt staging environment.See Let's Encrypt rate-limits for more details: https://letsencrypt.org/docs/rate-limits/
Staging:
Set-PAServer "LE_Stage"
Production:
Set-PAServer "LE_Prod"
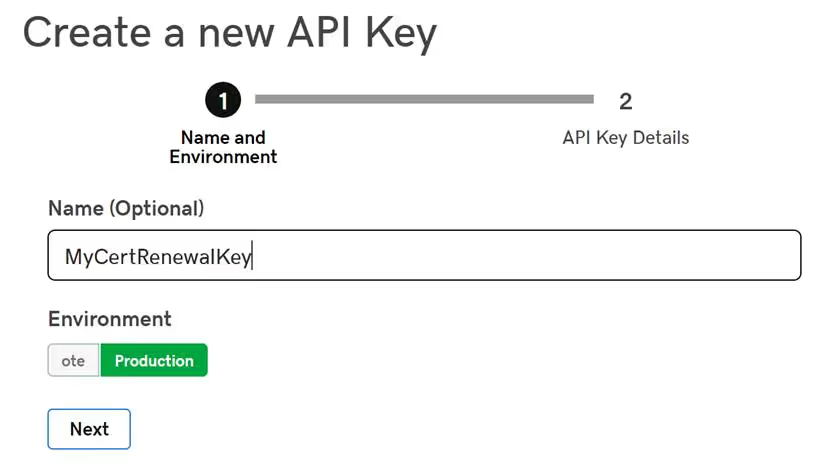
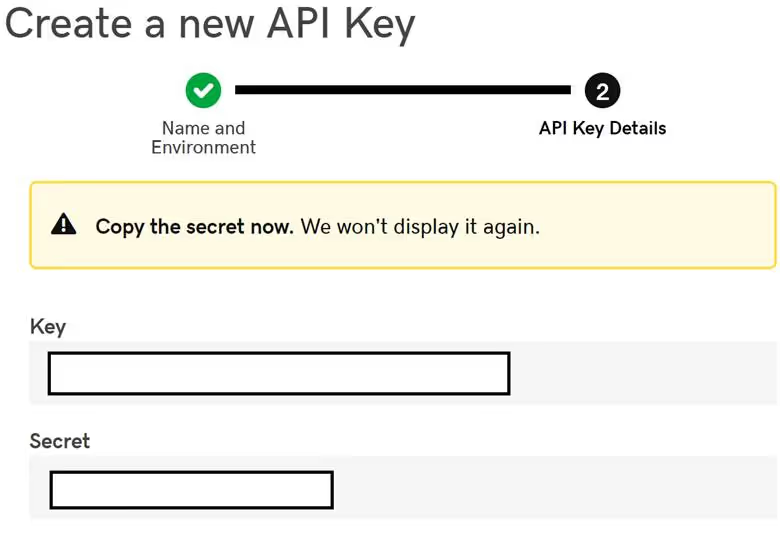
For Posh-ACME to perform the necessary challenges for Domain Validation we need to generate an API key for GoDaddy. To do so go to: developer.godaddy.com/keys


Once you have your API Key and Secret, return to Powershell and enter the following command:
$pArgs = @{GDKey="$gdKey";GDSecret="$gdSecret"}
New-PACertificate $domainName -FriendlyName $friendlyName -PfxPass $pfxPass -AcceptTOS -Contact $email -DnsPlugin $dnsPlugin -PluginArgs $pArgs
The -pfxPass property relates to the password used for your certificate. If you do not define this password parameter, the password defaults to "poshacme". You could also specify the -install switch to automatically import the certificate into the local computer's certificate store.
Running theNew-PACertificate command performs a Domain Validation against GoDaddy by creating a txt record. After the challenge completes, the value is blanked, but the txt record remains.

Formore information and a tutorial visit: https://github.com/rmbolger/Posh-ACME/blob/master/Tutorial.md
After completing theNew-PACertificate step, run Get-PACertificate to can retrieve the locationwhere the certificates were saved.
$pfxFile = (Get-PACertificate).pfxfile
$cerFile = (Get-PACertificate).certfile
With these file paths in hand, we can use Powershell to upload our certs to Key Vault in Azure.If we need to, we can also convert the files to base64 versions:
### Upload Certificate to Key Vault
$flag =
[System.Security.Cryptography.X509Certificates.X509KeyStorageFlags]::Exportable
$collection = New-Object
System.Security.Cryptography.X509Certificates.X509Certificate2Collection
$collection.Import($pfxFilePath, $pwd, $flag)
$pkcs12ContentType =
[System.Security.Cryptography.X509Certificates.X509ContentType]::Pkcs12
$clearBytes =
$collection.Export($pkcs12ContentType)
$fileContentEncoded =
[System.Convert]::ToBase64String($clearBytes)
$secret = ConvertTo-SecureString -String
$fileContentEncoded -AsPlainText –Force
$secretContentType = 'application/x-pkcs12'
Set-AzureKeyVaultSecret -VaultName $vaultName
-Name $secretName -SecretValue $Secret -ContentType $secretContentType # Change
Key Vault name and Secret name
### Upload Base64 version of PFX to KeyVault
$secretValue =
[System.Convert]::ToBase64String([System.IO.File]::ReadAllBytes($pfxFile))
$Secret = ConvertTo-SecureString -String
$secretValue -AsPlainText -Force
Set-AzureKeyVaultSecret -VaultName $vaultName
-Name "$certName-pfx" -SecretValue $Secret
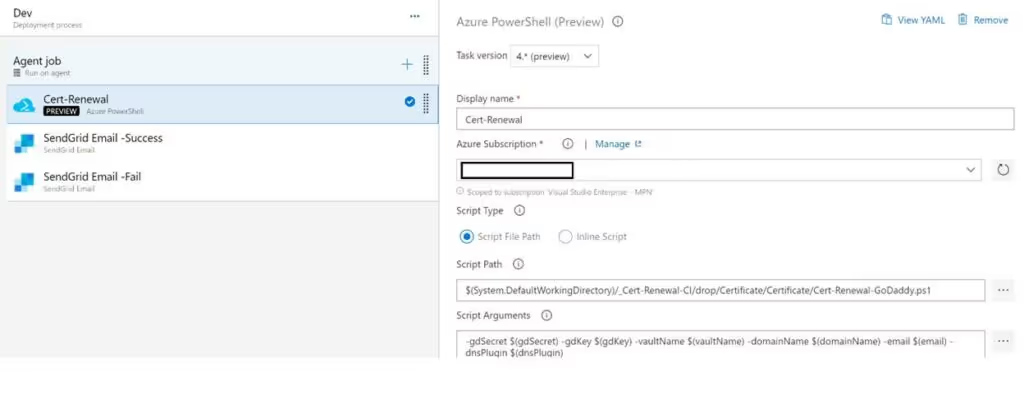
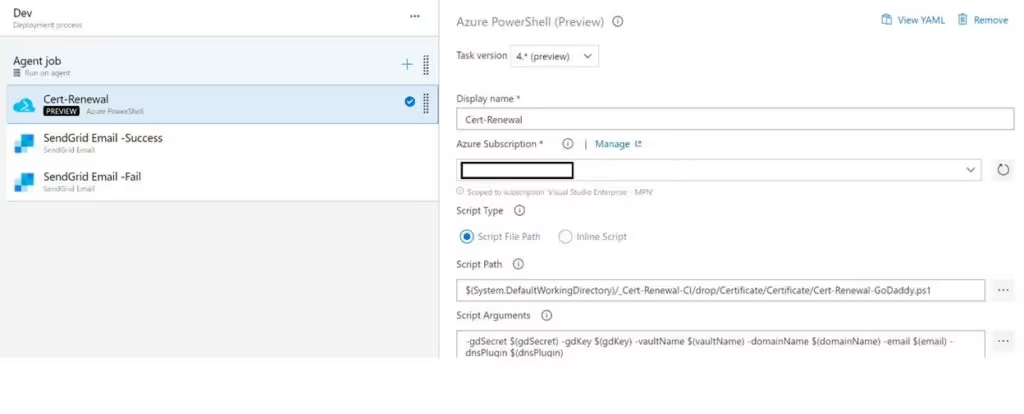
Saving this Powershell script to our Azure DevOps GIT Repository, we can then create a release definition to automate the process of creating our certificates and uploading to Key Vault.

Although Azure DevOps has the ability to send notifications. I wanted a way to distinguish this particular notification from the others, so I decided to use SendGrid after reading a Mailgun vs Sendgrid comparison. I decided SendGrid would better suit me. The type of notification I receive will depend on whether the "Cert-Renewal" task succeeds or fails.
As mentioned earlier, the certificates from Let's Encrypt expire after 90 days. We could schedule this release definition to run on a weekly basis, but I don't want to renew my certificates this aggressively. I decided to use Azure Automation Account to trigger a build and release pipeline for my SSL certificate renewal.
In your Azure Automation Account, you'll need to install a few additional modules from the "Browse Gallery" option. First import SHiPS, then Trackyon.Utils and then finally VSTeam. You'll also need to create a personal access token within your Azure DevOps with build definition appropriate permissions.
Once you have your PAT from Azure DevOps, and your Automation Account has the necessary modules, create a new Powershell Rnbook with the following:

The last step is to configure a runbook schedule and assign it to your Powershell runbook. I set my schedule for a reoccurring two-month cadence. If you don't already have runbook, you can find a runbook template online to work for you.
For some added flair, now that we have a process for creating and renewing our certificates, you can "chain" your release definitions by adding a deployment trigger. In Azure DevOps, from the Marketplace, I added the "Trigger Azure DevOps Pipeline" task which now allows me to redeploy my Application Gateway once the new certs have been created.

Congratulations on automating the process of issuing a DV SSL Certificate, uploading the files to your Key Vault, and creating an Azure Automation Runbook that'll create you anew certificate before your existing one expires.
