

BLOG
Configure SQL Server 2012 Data Tools for ALM and TFS Features


SQL Server 2012 was just launched and is packed a number of new features. See the Microsoft SQL Server 2012 landing page for more information on SQL Server 2012. SQL Server 2012 includes everything you need (almost, as I’ll show you below) to being utilizing the ALM features in Team Foundation Server 2010 without the developer edition of Visual Studio. I’m going to walk you though the options to install, the configuration, and the additional downloads to begin using all of the features. However, it is important to remember that you run a sql injection test to find any hidden surprises as it could mess with your system if you mistakenly unearth one.
If you opened SQL Server Management Studio 2012 then you have probably noticed how it now powered by Visual Studio 2010. In addition, the Business Intelligence Development Studio (BIDS) has been renamed to SQL Server Data Tools (SSDT). Not only is SSDT powered by Visual Studio 2010, it now includes the Database Project template. By integrating “Data Dude” (Microsoft’s original code name for the database development tools that keeps sticking) into the SQL Server installation, I think Microsoft is sending the message that ALM features for database artifacts are very important for database professionals and not just developers.
SQL Server Installation
This first step is choose the proper features when installing SQL Server. If you have already installed it without these features, you will need to rerun the installation and add these features. During the Feature Selection of the SQL Server 2012 installation wizard, choose the SQL Server Data Tools and Management Tools to install the Visual Studio 2010 powered client tools as shown in Figure 1.

Once this installation has completed, the two client tool programs will be available from the Microsoft SQL Server 2012 program menu.

Enabling Database Projects in SQL Server Data Tools
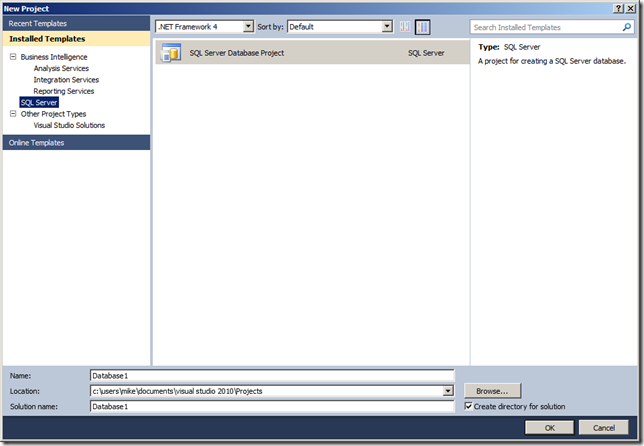
Open the SQL Server Data Tools and choose New Project. The Business Intelligence project templates are listed below for Analysis Services, Integration Services, and Reporting Services. The SQL Server item has the option to install the additional functionality including for Database Projects. Choose this option to download and install the additional functionality.

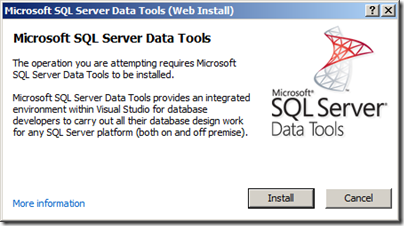
The dialog appears and provides the option to Install the features. Click Install to take you to the link below.
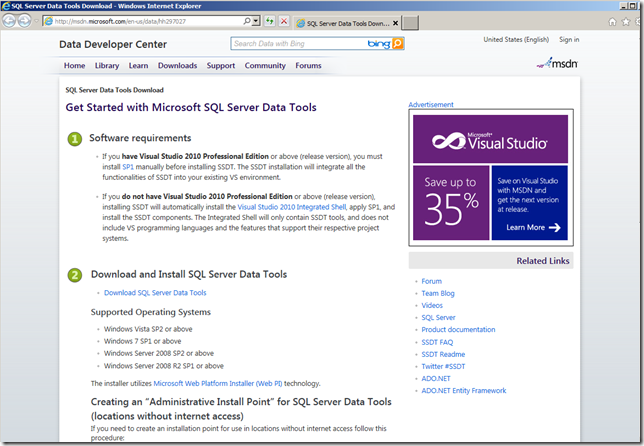
The Get Started with Microsoft SQL Server Data Tools page includes the instructions for installing the tools for both Visual Studio 2010 Professional (or above) and SQL Server Data Tools. The second bullet covers our scenario of the Visual Studio 2010 Integrated Shell and will download all of the required components from the link. Click on the Download SQL Server Data Tools link to launch the Web Platform Installer 3.0 to install the SSDT application.
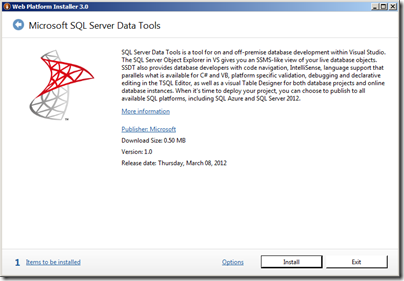
Click the Install Now link to run the Web Platform Installer powered installation. Then click the Install button below to begin the installation process.
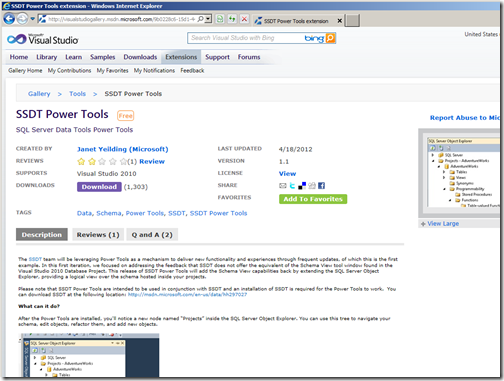
Once the installation completes, you will have the Database Projects template available to use, however not all of the functionality that was included in previous versions of the Database Project is available. The SSDT team is planning on using the SSDT Power Tools as a the delivery mechanism to continue to add functionality to SSDT based on the users requests and needs. The first release of the SSDT Power Tools adds Schema View to the Database Projects. Download and install the latest version the SSDT Power Tools to add this functionality. Continue to monitor this post and the SSDT Team blog for further improvements.
Finally, when you reopen the SSDT, the SQL Server Data Project template is now available. You can now create Database Projects to manage your database artifacts with rich features such as smart rename and schema compare. Furthermore you can leverage these projects to create automated builds and deployments to align with the application source code builds and deployments. See my previous post, Implementing Continuous Integration (CI) and Lunavi for SQL Server Databases for some background on Database Projects especially for automated deployments.
There is one critical capability missing with this solution so far. The Database Projects are important for following Configuration Management (CM) practices but it is not complete without the ability to use them with a Source Control Management (SCM) system. Fortunately, by being powered by Visual Studio, SSDT can be tightly integrated with Team Foundation Server 2010 (TFS). TFS 2010 provides a number of integrated ALM features including SCM and is even free to install if you have a MSDN license.
Connecting to Team Foundation Server 2010
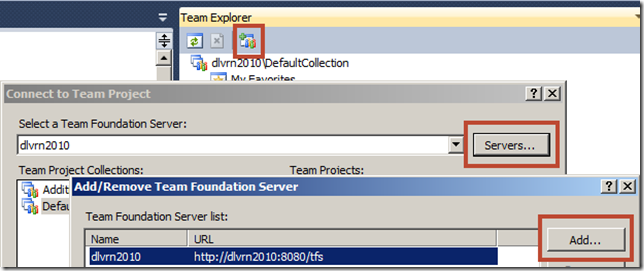
The Visual Studio integrated shell that powers SSDT does not include the Team Explorer component that provides the full integration with TFS 2010. Team Explorer is a free download (but requires a TFS CAL, also included with your MSDN license) that you can install to add this functionality. Download and install Team Explorer 2010. When the installation completes, you should download and re-install the Visual Studio 2010 SP1 (this was automatically installed for you). To connect to TFS 2010, first make sure the Team Explorer view is visible. If not go to the View menu and select Team Explorer. In the Team Explorer toolbar, select the plus icon highlighted below to open the Connect to Team Project dialog and then select Servers to show you the Add/Remove Team Foundation Server dialog. Finally, click the Add button to create the connection to the appropriate TFS 2010 Server. In addition to the SCM features with TFS 2010, this includes bug tracking, agile project management capabilities, build automation, test case management, and more.
I hope this provided the information you need get started using Database Projects with SQL Server 2012. In a future post, I’ll go into detail on how to use the Database Projects. If you are using the Visual Studio 2010 Professional or higher, the same link above will install the capabilities for this. Finally if you are using the Visual Studio 11 beta or newer, the Database Project template for SQL Server 2012 is already included. You will also want to download the SSDT Power Tools.


